This page may contain affiliate links, please check out our disclosure policy here.
Going solar can look complicated — panels, wiring, charge controllers, batteries, inverters… where do you even begin? A1 SolarStore’s blog turns that complexity into a clear, teachable process. Their five-part educational series helps readers move from complete beginner to confident installer, one logical step at a time.
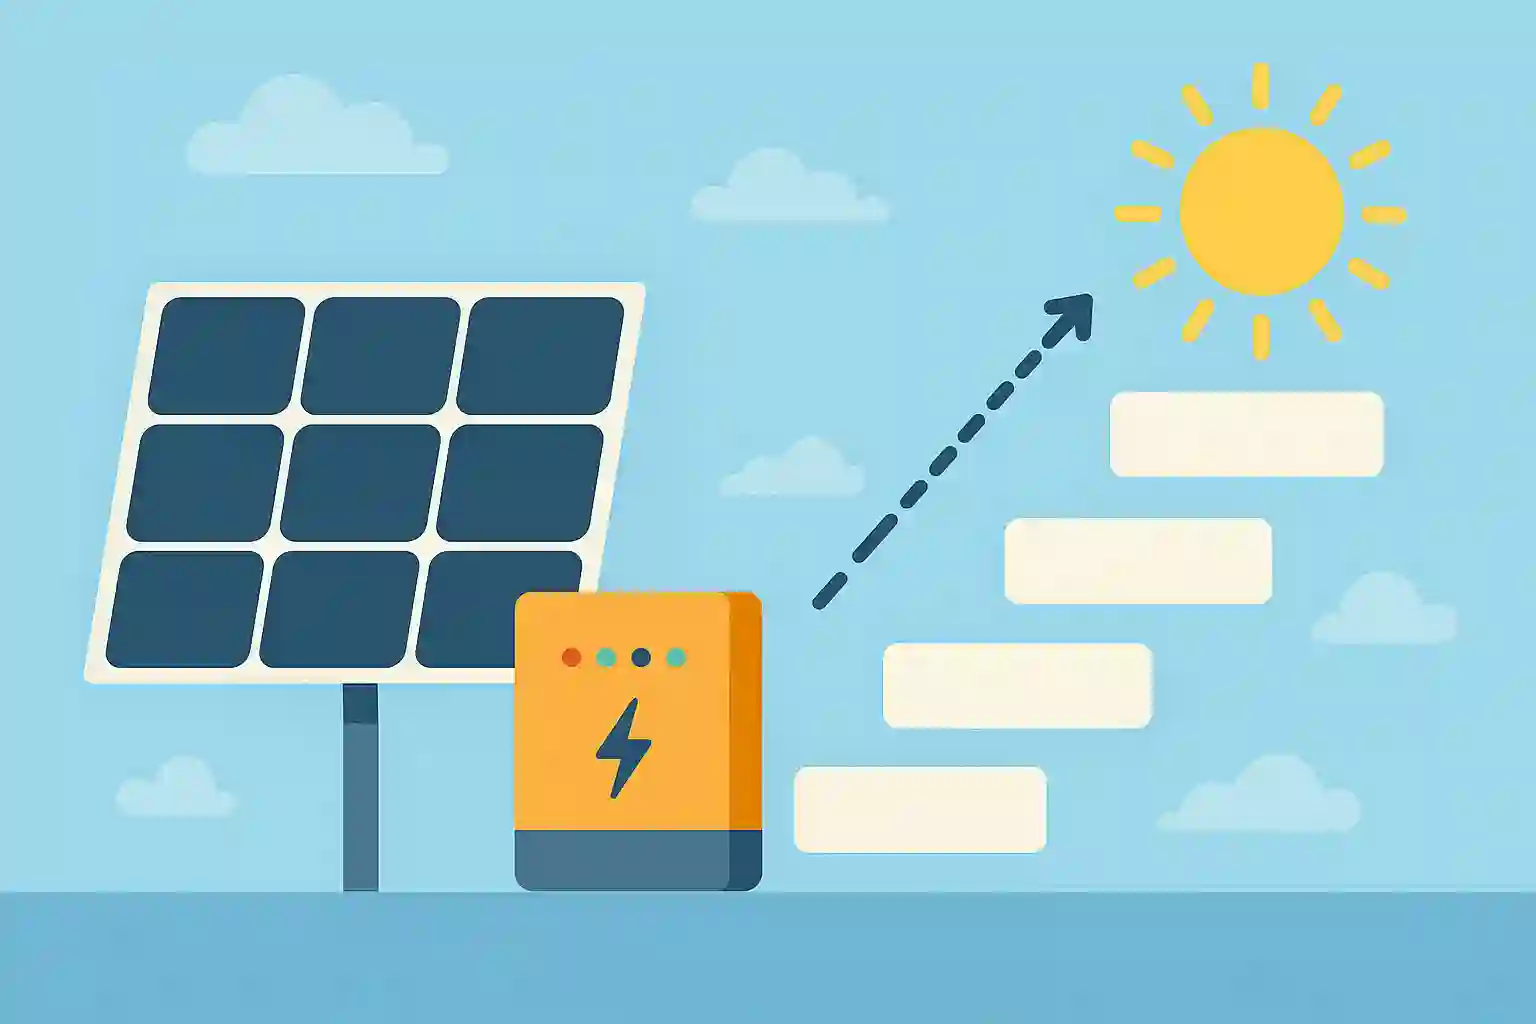
Below is a structured overview of the learning path — and what you can expect from each article.
Step 1. Build the Foundation — Understanding the Whole System
Start your journey with the Ultimate guide: DIY solar system kit. This is the master map of your solar project. It explains how to calculate your energy needs, choose between grid-tie, hybrid, or off-grid systems, and size every component accordingly.
“Before buying a single panel, know exactly what you need and why you need it.”
The article helps you think like a system designer — balancing cost, power demand, and long-term performance. It doesn’t go deep into regulations, but as a beginner’s compass, it’s excellent.
Step 2. Learn How It All Connects — Wiring Fundamentals
This guide shows the logic of energy flow — from panels to controller to battery — and explains why connection order matters. It details the controller’s job in voltage regulation and battery protection.
“Always connect the battery first, then the solar panels — safety depends on sequence.”
If you’re assembling your first system, this article will likely become your most bookmarked reference.
It condenses the wiring process into a simple three-step workflow: connect the battery, power up the controller, then link the panels. Short, clear, and perfect for on-site use — a pocket guide for DIY installers.
Step 4. Understand the Brain of the System — The Charge Controller
It covers key functions like voltage regulation, overcharge protection, and current balancing. Reading this article turns the controller from a “mystery box” into an intelligent regulator that makes your whole system stable and efficient.
Step 5. Upgrade Your Knowledge — MPPT Controllers Explained
Once you’ve mastered the basics, it’s time to look at smarter technology. Looking at MPPT solar charge controller in detail introduces MPPT (Maximum Power Point Tracking) and compares it with the simpler PWM type.
“MPPT controllers can increase energy yield by up to 25 %, turning spare voltage into usable power.”
It’s a great read if you’re ready to expand your system or simply want to understand where efficiency gains come from.
Bringing It All Together
By following these five articles in order, you’ll move through the same logical process professional installers use: plan → wire → understand → optimize.
The A1 SolarStore blog doesn’t just teach steps — it builds comprehension. Each guide adds another piece of the puzzle until you can see the full picture of how solar energy works in practice.
“Knowledge first, installation second — that’s how DIY solar becomes safe, efficient, and rewarding.”