This page may contain affiliate links, please check out our disclosure policy here.
A small DIY solar project can teach more than a stack of product brochures. Before buying panels, it is worth checking how sunlight, panel choice and real-world output work together; this complete guide to solar panel efficiency is a useful place to start.
The mistake many beginners make is trying to design a “whole-house” system before they have built anything smaller. That usually leads to confusing calculations, oversized shopping lists and expensive equipment that may not match the real load.
A better first step is simple: pick one practical use case, build around it, test it, and learn from the result.
DIY solar becomes much easier when the first project is small enough to understand, measure and safely improve.
Start With a Job, Not a Kit
Many solar kits are sold as complete solutions, but a kit is only useful if it matches the job. Before choosing equipment, decide what the system should actually power.
Good beginner projects
Charging phones, tablets or USB power banks
Running LED lights in a shed or workshop
Powering a small DC fan
Keeping a 12V battery topped up
Running a small water pump for short periods
Building a portable camping or emergency power box
These projects are useful because they keep the system small. You can see what works, understand the numbers and fix mistakes before moving into larger loads.
A quick reality check
If the project includes heaters, kettles, air conditioners, large refrigerators or power tools, it is no longer a small beginner system. Those loads need more careful design and much larger equipment.
Write Down the Load Before Buying Anything
Solar system sizing starts with the load. This means listing the devices you want to run, how many watts they use and how many hours per day they need to operate.
Guessing is where many DIY solar projects become expensive. A cheap watt meter or a careful look at appliance labels can prevent buying the wrong panel, battery or inverter.
Example load list
LED light: 10W for 5 hours = 50Wh
Small DC fan: 20W for 4 hours = 80Wh
Phone charging: 15Wh per charge x 2 = 30Wh
Router: 12W for 8 hours = 96Wh
In this example, the daily use is around 256Wh. After allowing for losses and cloudy conditions, the system should be designed with a safety margin rather than sized exactly to the minimum number.
Choose Between DC and AC Early
One of the simplest ways to make a small DIY system more efficient is to avoid unnecessary conversion. Solar panels and batteries are DC devices. Many household appliances are AC devices. An inverter converts DC battery power into AC, but that conversion comes with losses.
When DC makes sense
For small systems, DC loads can be a good choice. LED lighting, USB charging, small fans, 12V pumps and communication devices may run directly from a suitable DC setup. This can reduce equipment cost and improve runtime.
When an inverter is useful
An inverter becomes useful when you need to power standard AC devices. However, it must be sized correctly. A small inverter may fail under startup surge, while an oversized inverter can waste energy even when loads are light.
Do not buy the inverter first
Beginners often choose a large inverter because it feels safer. In reality, inverter sizing should follow the load calculation, battery capacity and expected runtime.
Panel Size: Bigger Is Not Always Smarter
A solar panel should be large enough to replace the energy used each day, with extra capacity for losses and imperfect weather. But adding too much panel capacity without the right charge controller, battery and wiring can create new problems.
For small projects, common starter panels may range from portable 50W panels to larger 100W, 200W or 400W modules. The right choice depends on daily energy use, available sunlight, mounting space and how quickly the battery needs to recharge.
Questions to ask before choosing a panel
How many watt-hours will the load use each day?
How many good sun hours are realistic for the location?
Will the panel be fixed, portable or occasionally moved?
Will there be shading from trees, roofs, fences or vehicles?
Does the charge controller support the panel voltage and current?
A solar panel is only one part of the system. If the controller, battery and wiring are not matched correctly, the panel cannot do its job properly.
Battery Choice Matters More Than Beginners Expect
In a small off-grid project, the battery is often the most important part of the system. It decides how long the load can run when the sun is weak, at night or during cloudy weather.
Lead-acid batteries
Lead-acid batteries are familiar and widely available, but they should not be deeply discharged if you want decent lifespan. They are heavier and usually provide less usable capacity than the label suggests.
Lithium batteries
Lithium batteries, especially LiFePO4, are popular for DIY solar because they offer more usable capacity, lighter weight and longer cycle life. They cost more upfront, but they can be more practical for portable systems and frequent use.
Battery safety note
Use the correct charger or charge controller for the battery chemistry. A lead-acid charging profile is not the same as a lithium charging profile, and incorrect charging can damage the battery or create safety risks.
Charge Controller: PWM or MPPT?
The charge controller sits between the solar panel and the battery. It controls charging and helps protect the battery from overcharging.
PWM controllers
PWM controllers are simple and inexpensive. They can work for basic 12V systems when the panel voltage and battery voltage are closely matched. For very small projects, they may be enough.
MPPT controllers
MPPT controllers are more efficient and flexible. They are often a better choice when using higher-voltage panels, larger arrays or when you want to extract more energy under changing conditions.
For a serious starter system that you may expand later, MPPT is often worth considering.
Wiring and Fuses Are Not Optional Extras
DIY solar is electrical work, and safety matters. Undersized wire, loose connections, missing fuses and poor cable routing can cause voltage drop, heat buildup or equipment damage.
Basic safety checks
Use wire sized for the current and cable length
Add appropriate fuses or breakers close to the battery
Keep connections tight and protected from moisture
Use proper solar connectors where required
Avoid mixing random cables without checking ratings
Label the system if it may be serviced later
The battery deserves respect
A battery can deliver a large current very quickly. This is why protection devices should be treated as core system parts, not accessories to add later.
Mounting: Temporary, Portable or Permanent?
How the panel is mounted affects performance and safety. A portable panel is flexible, but it may be forgotten in shade, blown over by wind or poorly angled. A fixed panel is more reliable, but it needs a stronger mounting plan.
Portable panel setup
Portable panels are useful for camping, emergency kits and testing. They let beginners experiment with angle and direction before committing to a permanent installation.
Fixed panel setup
Fixed panels are better for sheds, cabins, workshops and small off-grid systems. The mount should handle wind, weather and seasonal sun changes.
A panel that is perfectly sized but badly placed will underperform every day.
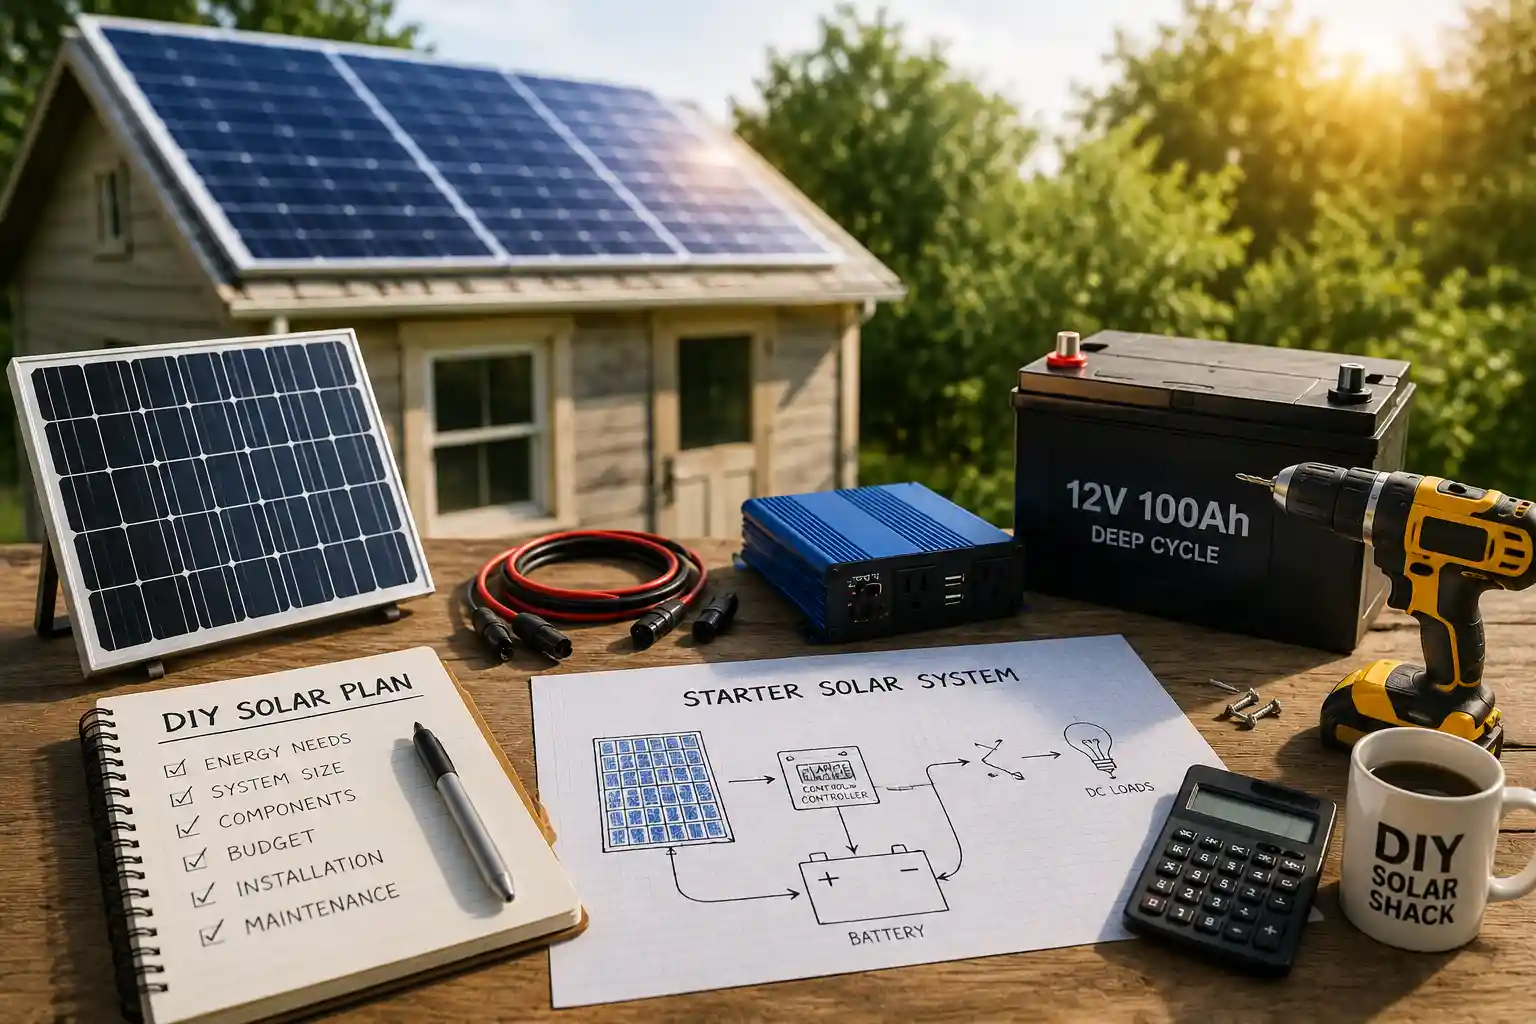
A Sensible First DIY Solar Build
For many beginners, a practical first system might include one modest solar panel, a suitable charge controller, a small battery, protection devices and one or two simple loads.
Example starter concept
100W to 200W solar panel
MPPT charge controller matched to panel and battery
12V LiFePO4 or deep-cycle battery
Fuse near the battery positive terminal
DC lights, USB charging or a small fan
Basic monitor or meter to track voltage and charging
This kind of system is small enough to understand but useful enough to teach real lessons about sunlight, charging, loads, wiring and battery capacity.
Common Beginner Mistakes
Most DIY solar mistakes are not mysterious. They usually come from skipping the load calculation, buying parts in the wrong order or assuming all 12V equipment works together automatically.
Buying a battery before calculating daily energy use
Using wire that is too thin for the current
Forgetting fuses or breakers
Expecting a small panel to run large appliances
Mixing battery types or old and new batteries
Installing panels where they are shaded for part of the day
Choosing an inverter that is too large for a small battery
Final Thoughts
A DIY solar project does not need to be large to be valuable. In fact, a small project is often the best classroom. It lets you test ideas, learn the equipment, understand real output and build confidence before spending more money.
Start with one clear job, calculate the load, choose matched components and build safely. Once the first system works well, expansion becomes much easier — and much less confusing.